Review Technical Bitcoin Transcripts and Earn Sats
Get started in 3 simple steps:
- Register and claim a talk
- Review and edit the transcript
- Submit and earn sats
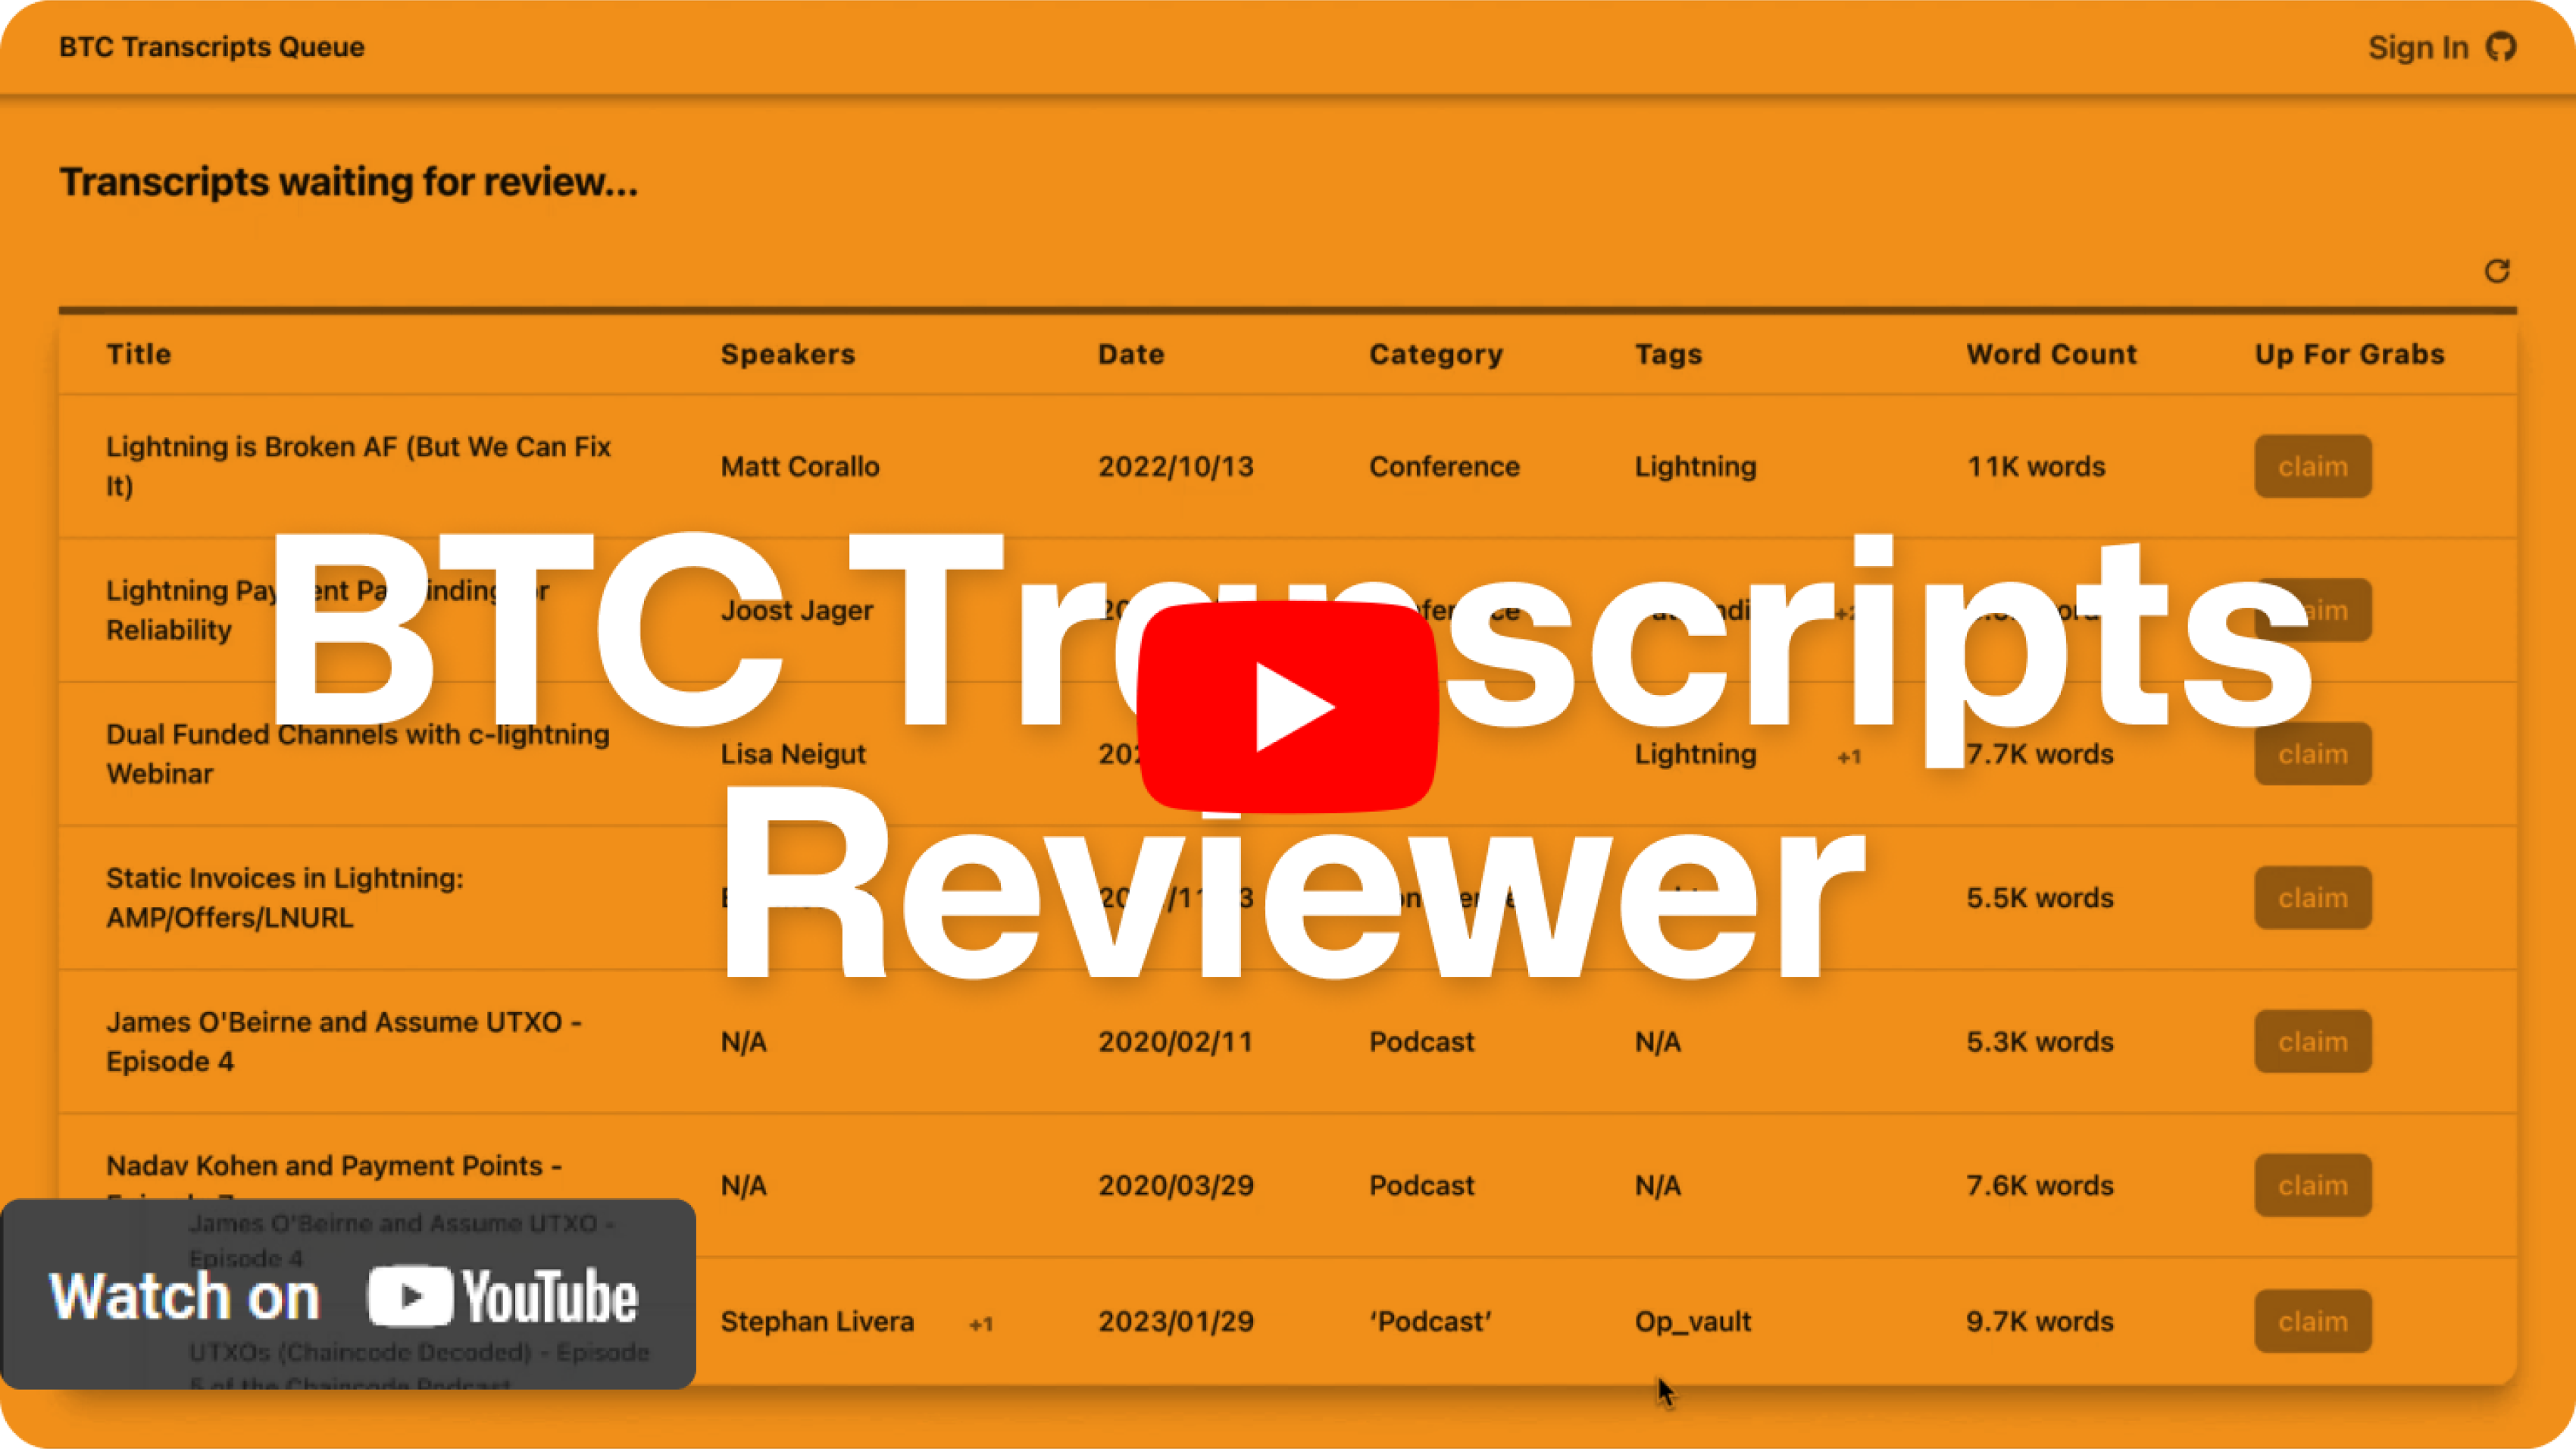
You only need 3 things:
A computer
*You won’t be able to do this on a mobile phone
A GitHub account
*Don’t have one?
Here’s how to
create an account
A few hours of your day
*Submit the transcript within 24 hours of claiming it
But why consider editing transcripts? Well, you’ll...
But why consider editing transcripts?

Well you’ll...

Build POW
Build proof of work by contributing to bitcoin (we’ll add your GitHub name as a contributor)

Deep dive into Bitcoin
Improve your comprehension of bitcoin and lightning

Support the community
Make it easier to discover, search for, and use information about technical bitcoin concepts
Here’s everything you need to start

Step 1: Claim a recording to review
TLDR; Connect your GitHub to BTCtranscripts
Connect
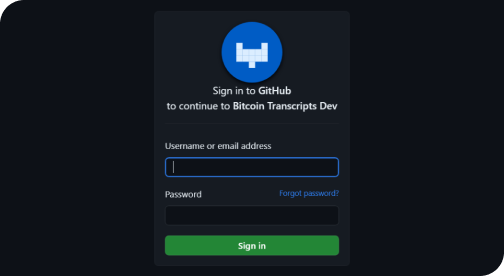
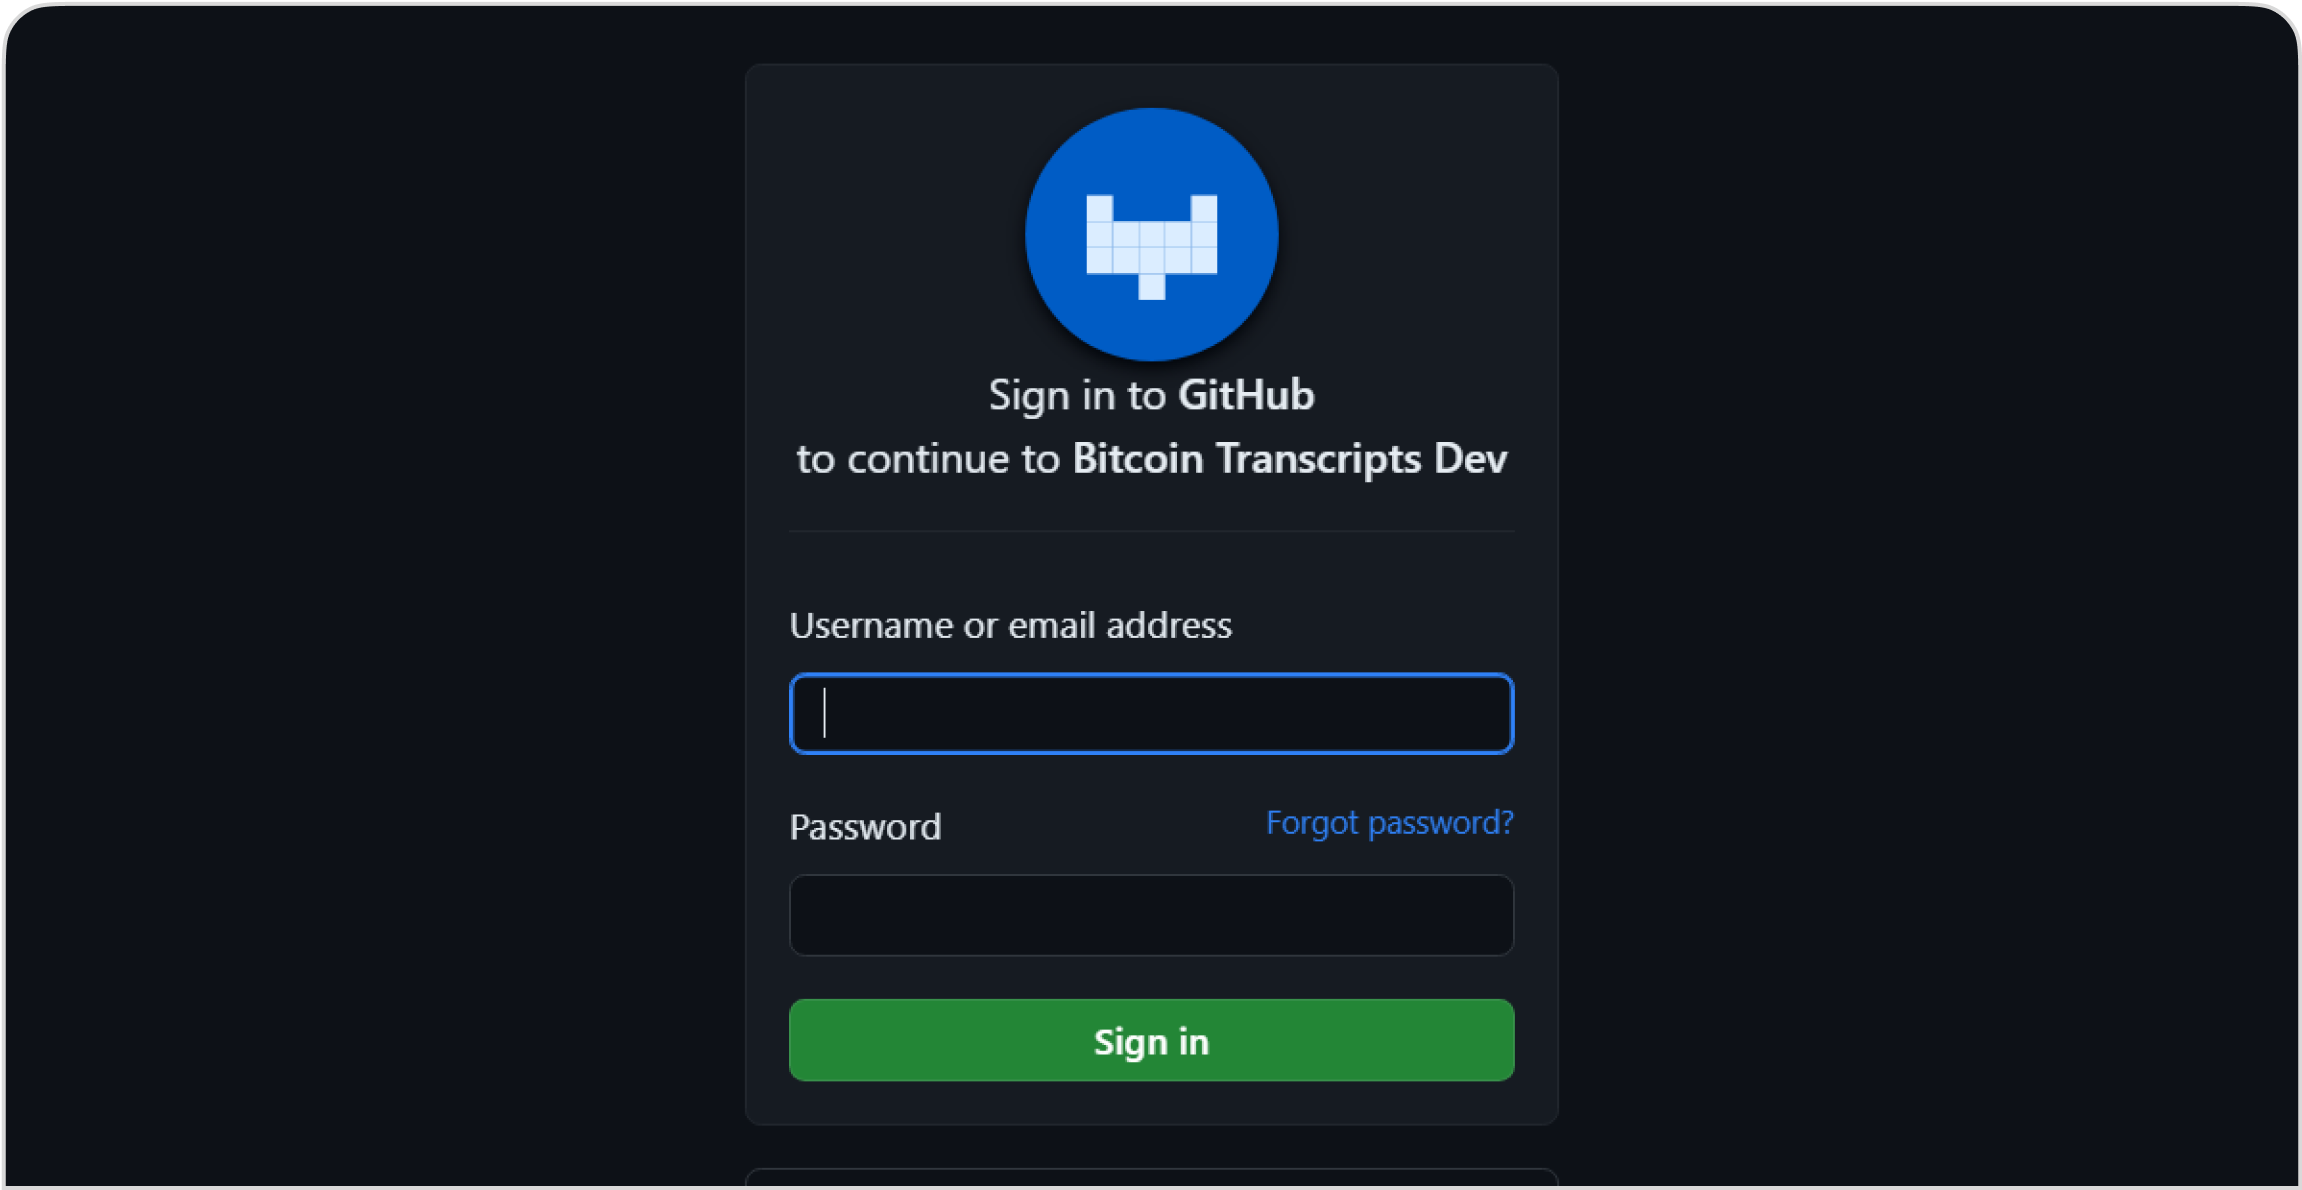
Connect your GitHub
account to BTCTranscripts
by clicking “Get Started”
Authorize
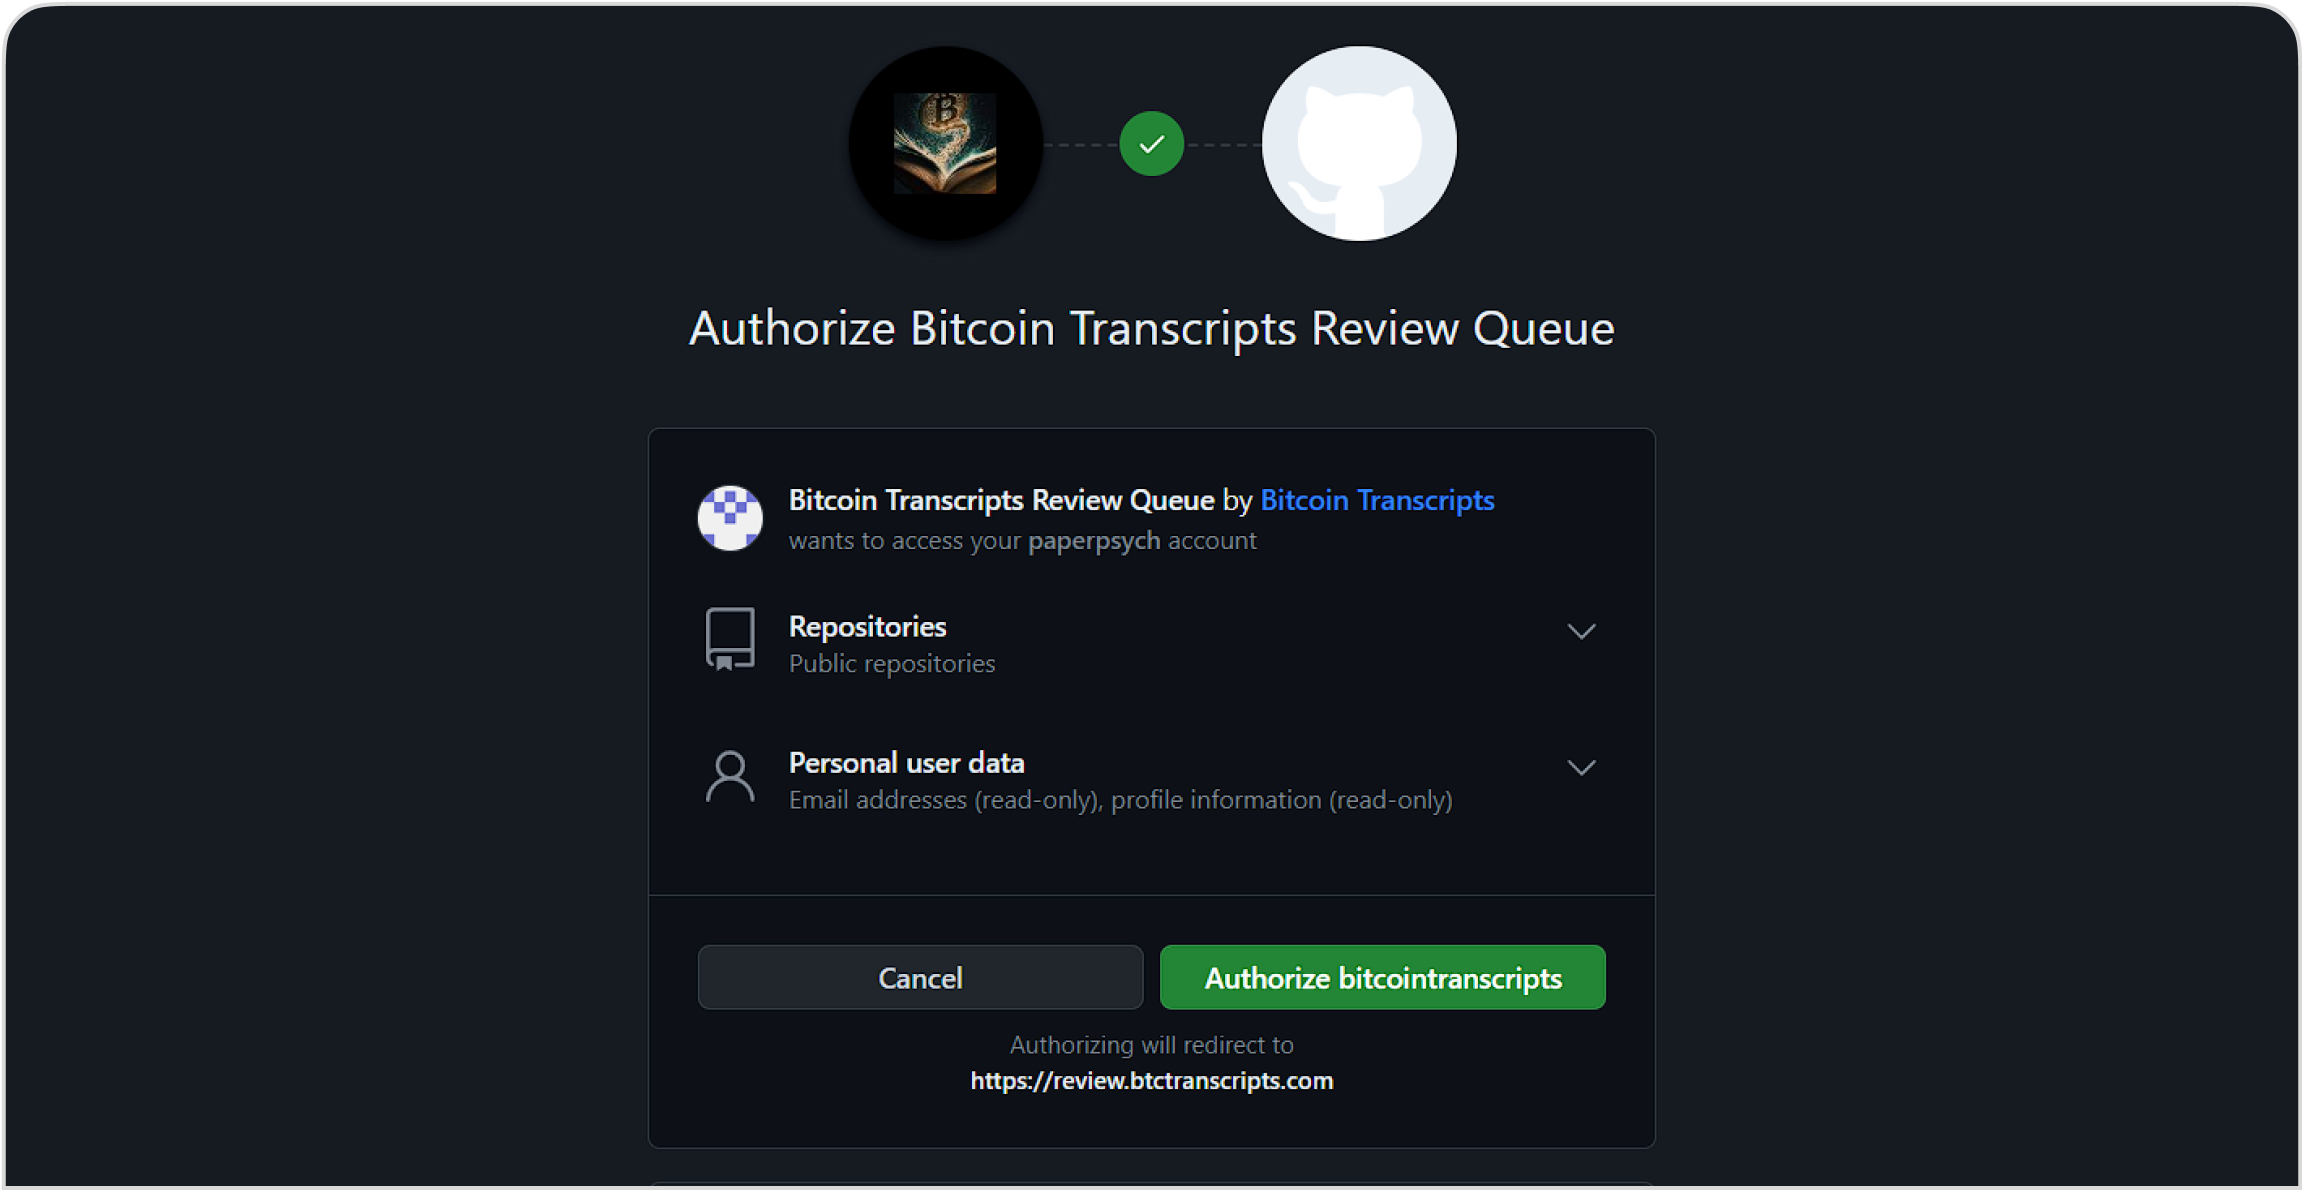
Authorize Bitcoin
Transcripts Dev to access
to your Github account
In simple English, it means
that BTCTranscripts will write
your transcript onto GitHub so
that it can be reviewed.
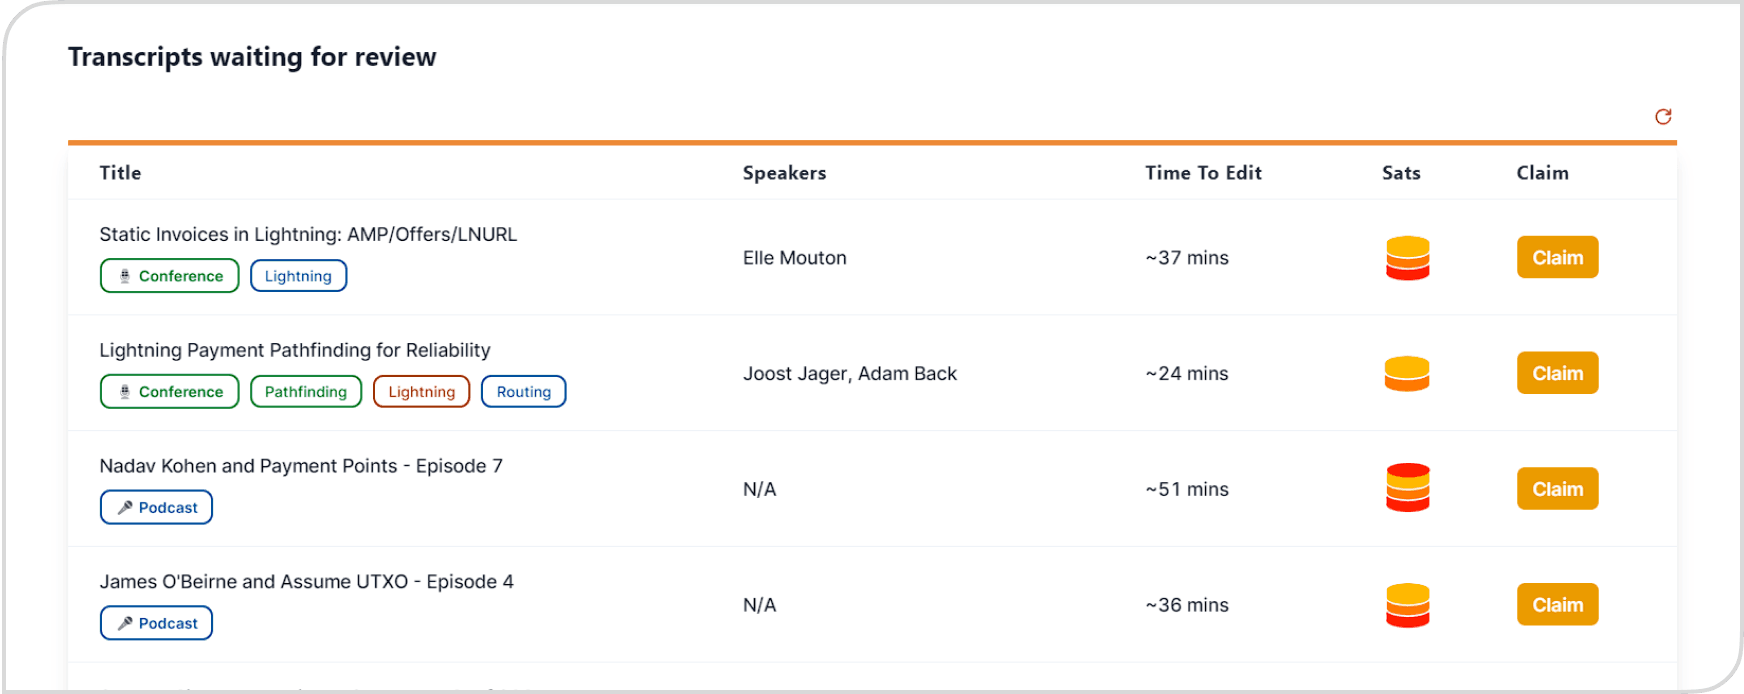
Once signed in, find a transcript that catches your fancy, and click “Claim.”
Now, it’s time to edit!

Step 2: Start reviewing and editing the transcript
TLDR; Use markdown. Make sure stuff is accurate. Use “replace” in case of multispeaker transcripts. Use split screen to listen and edit transcript at the same time.
- We use markdown. This is a way of
writing text that tells computers how to
display information - like what's a title,
header, what’s bolded, and the like.
Using Markdown
- You probably won’t need to use anything
apart from Header 1, Header 2, bolding,
italics, and hyperlinks.
Here's a super quick primer.
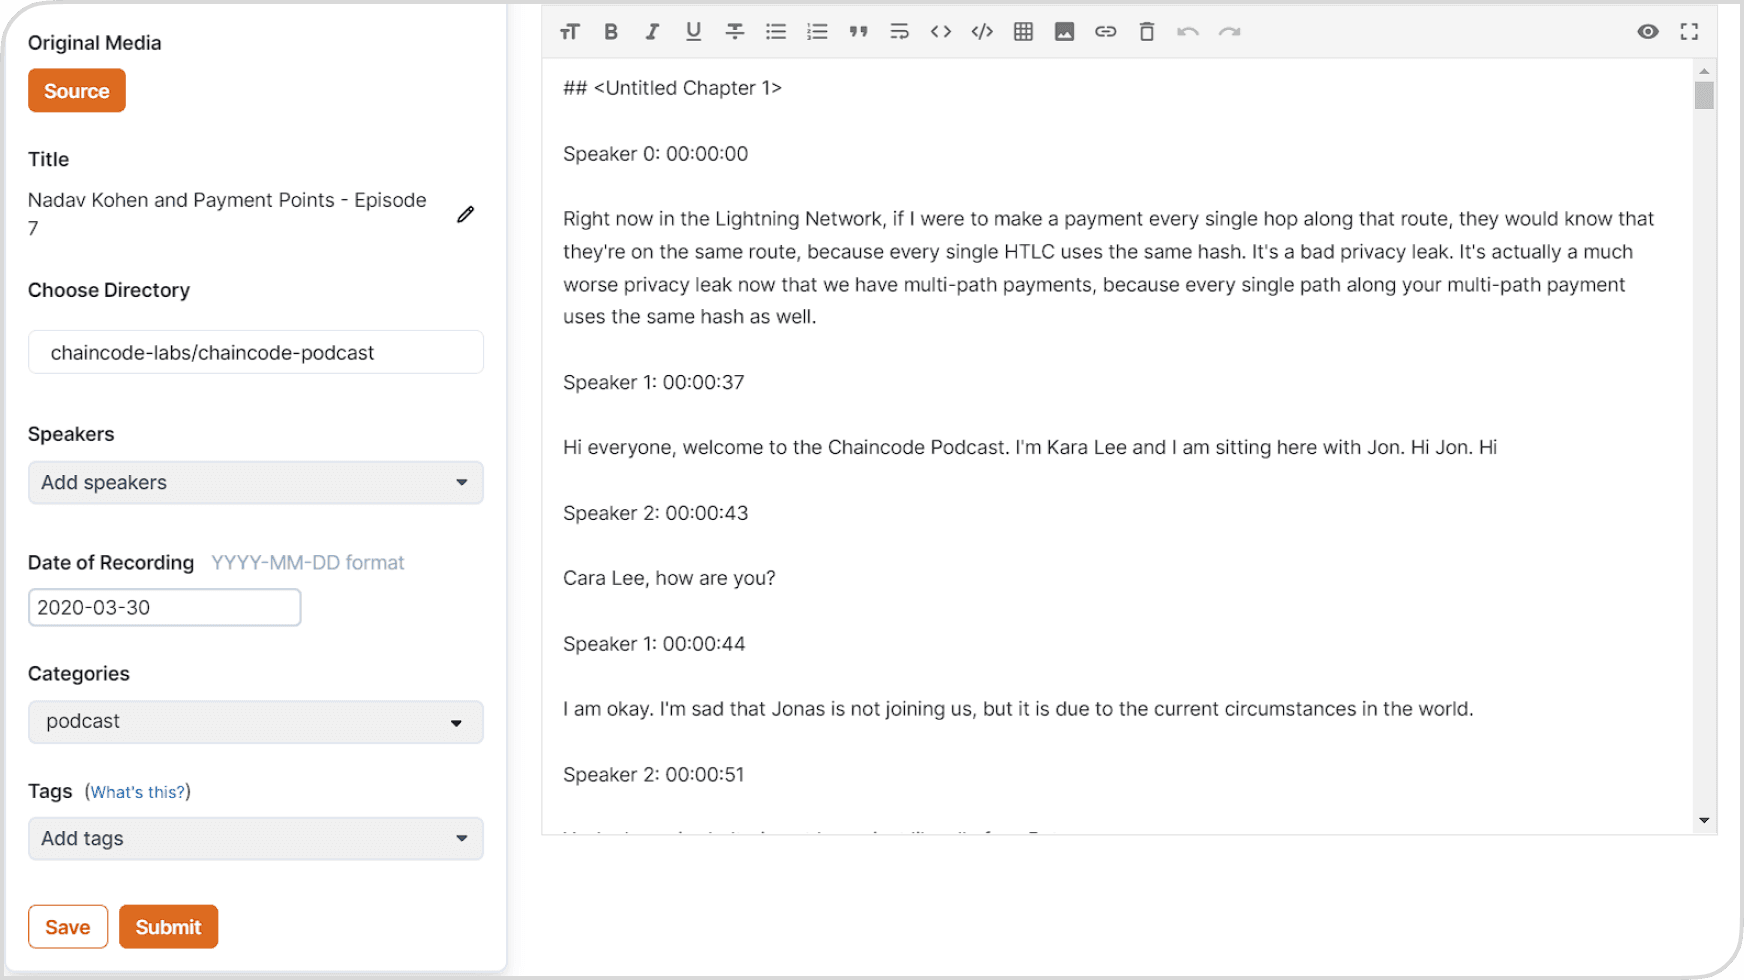
Here is what you’ll see as you edit the transcript
Notice the use of Header 1, Header 2, and hyperlinks with markdown.
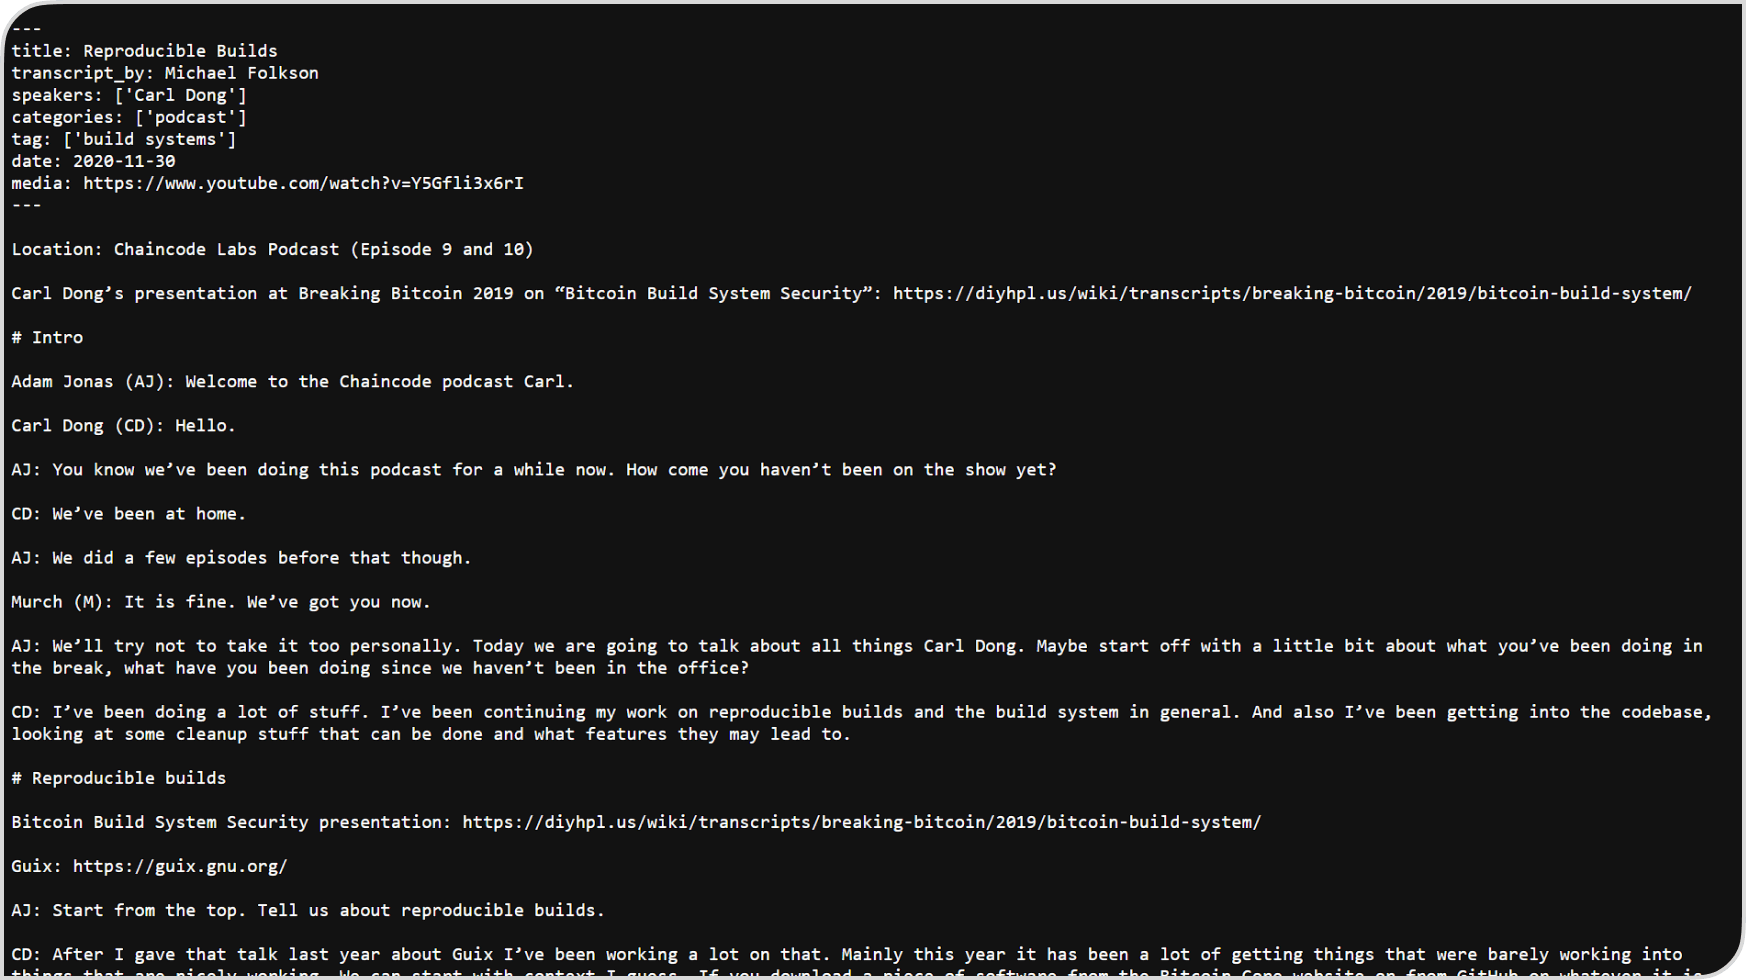
Here is what will live in the GitHub repository.
This is automatically created when you submit your transcript.
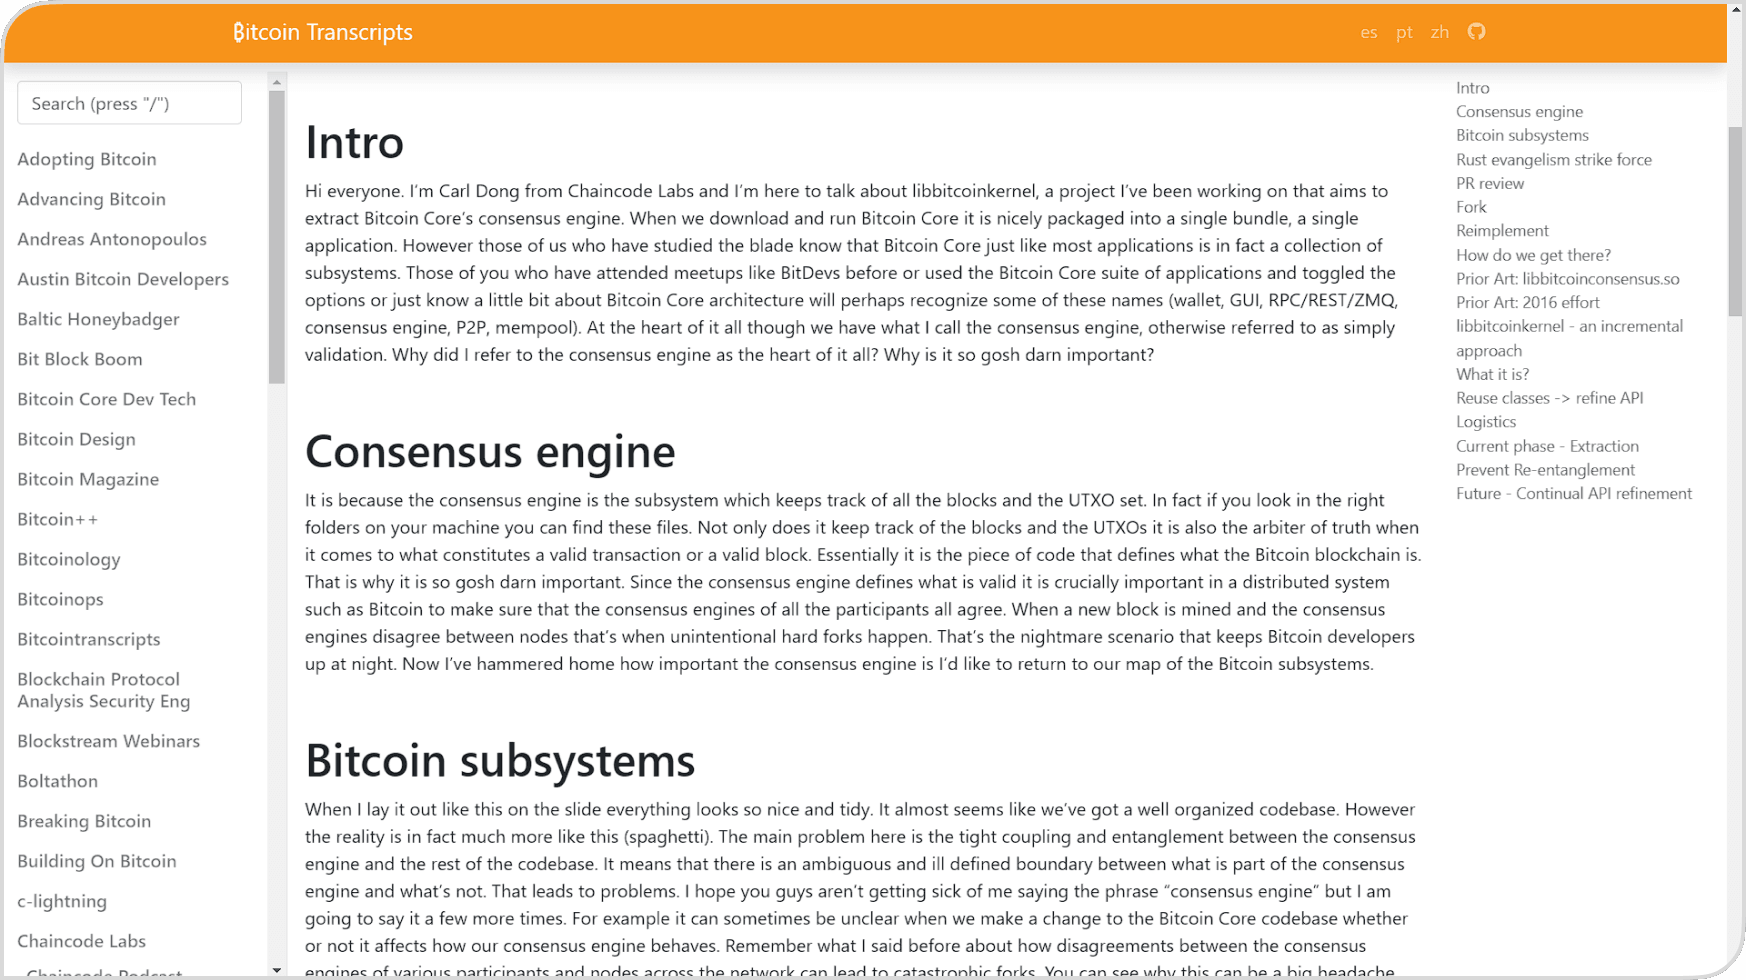
Here is what will live on the live site.
This is also automatically created once the review is finalized.
Step 3: Submit the edited transcript
TLDR; Once you submit, you’re done! The submitted transcripts are reviewed by a human and then published via GitHub
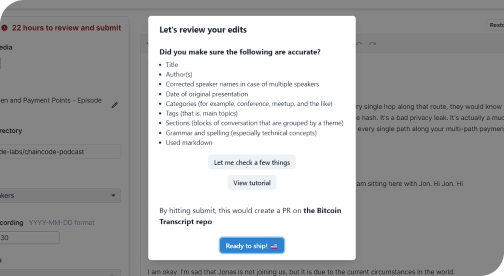
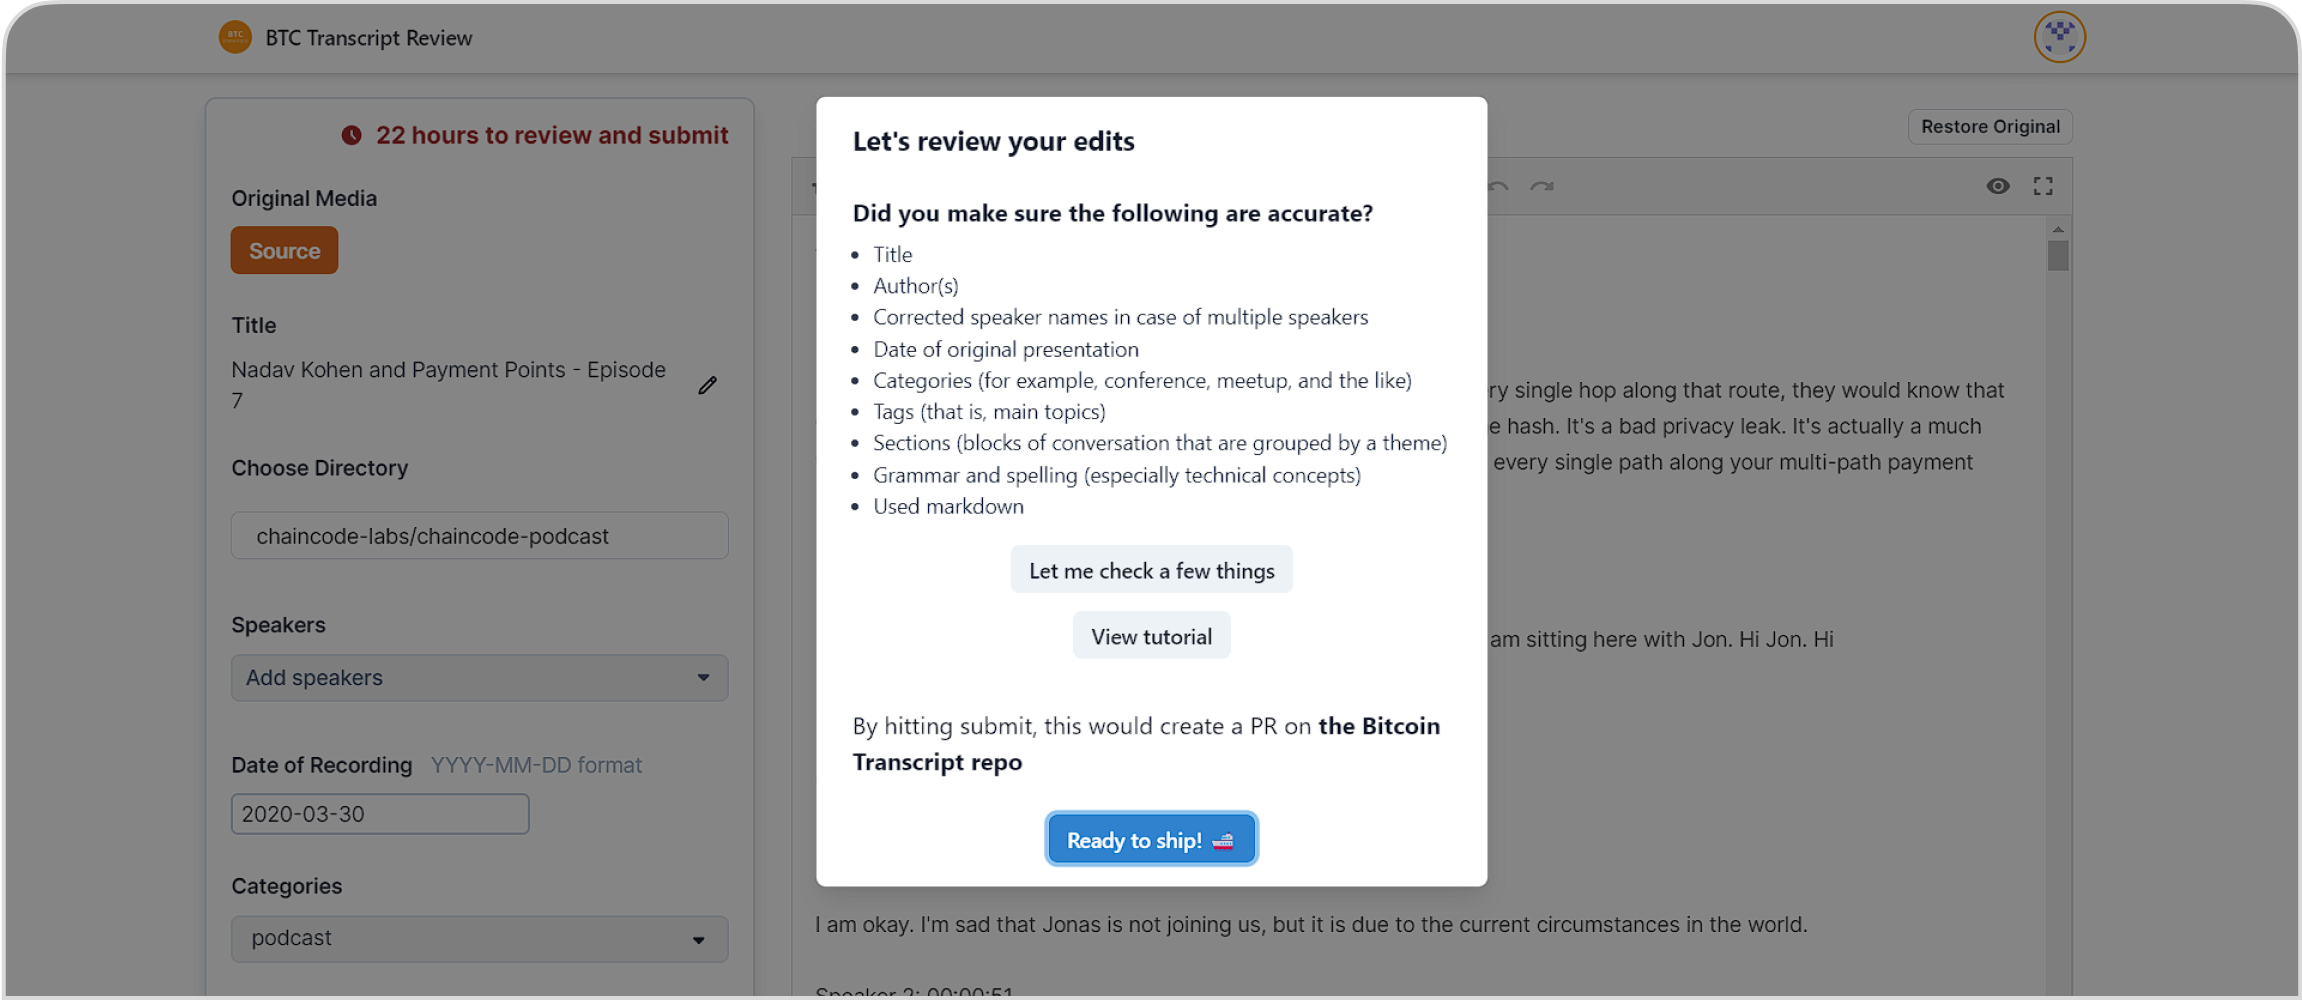
Submission
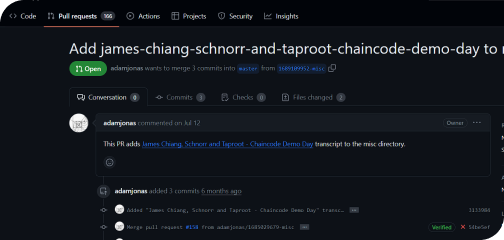
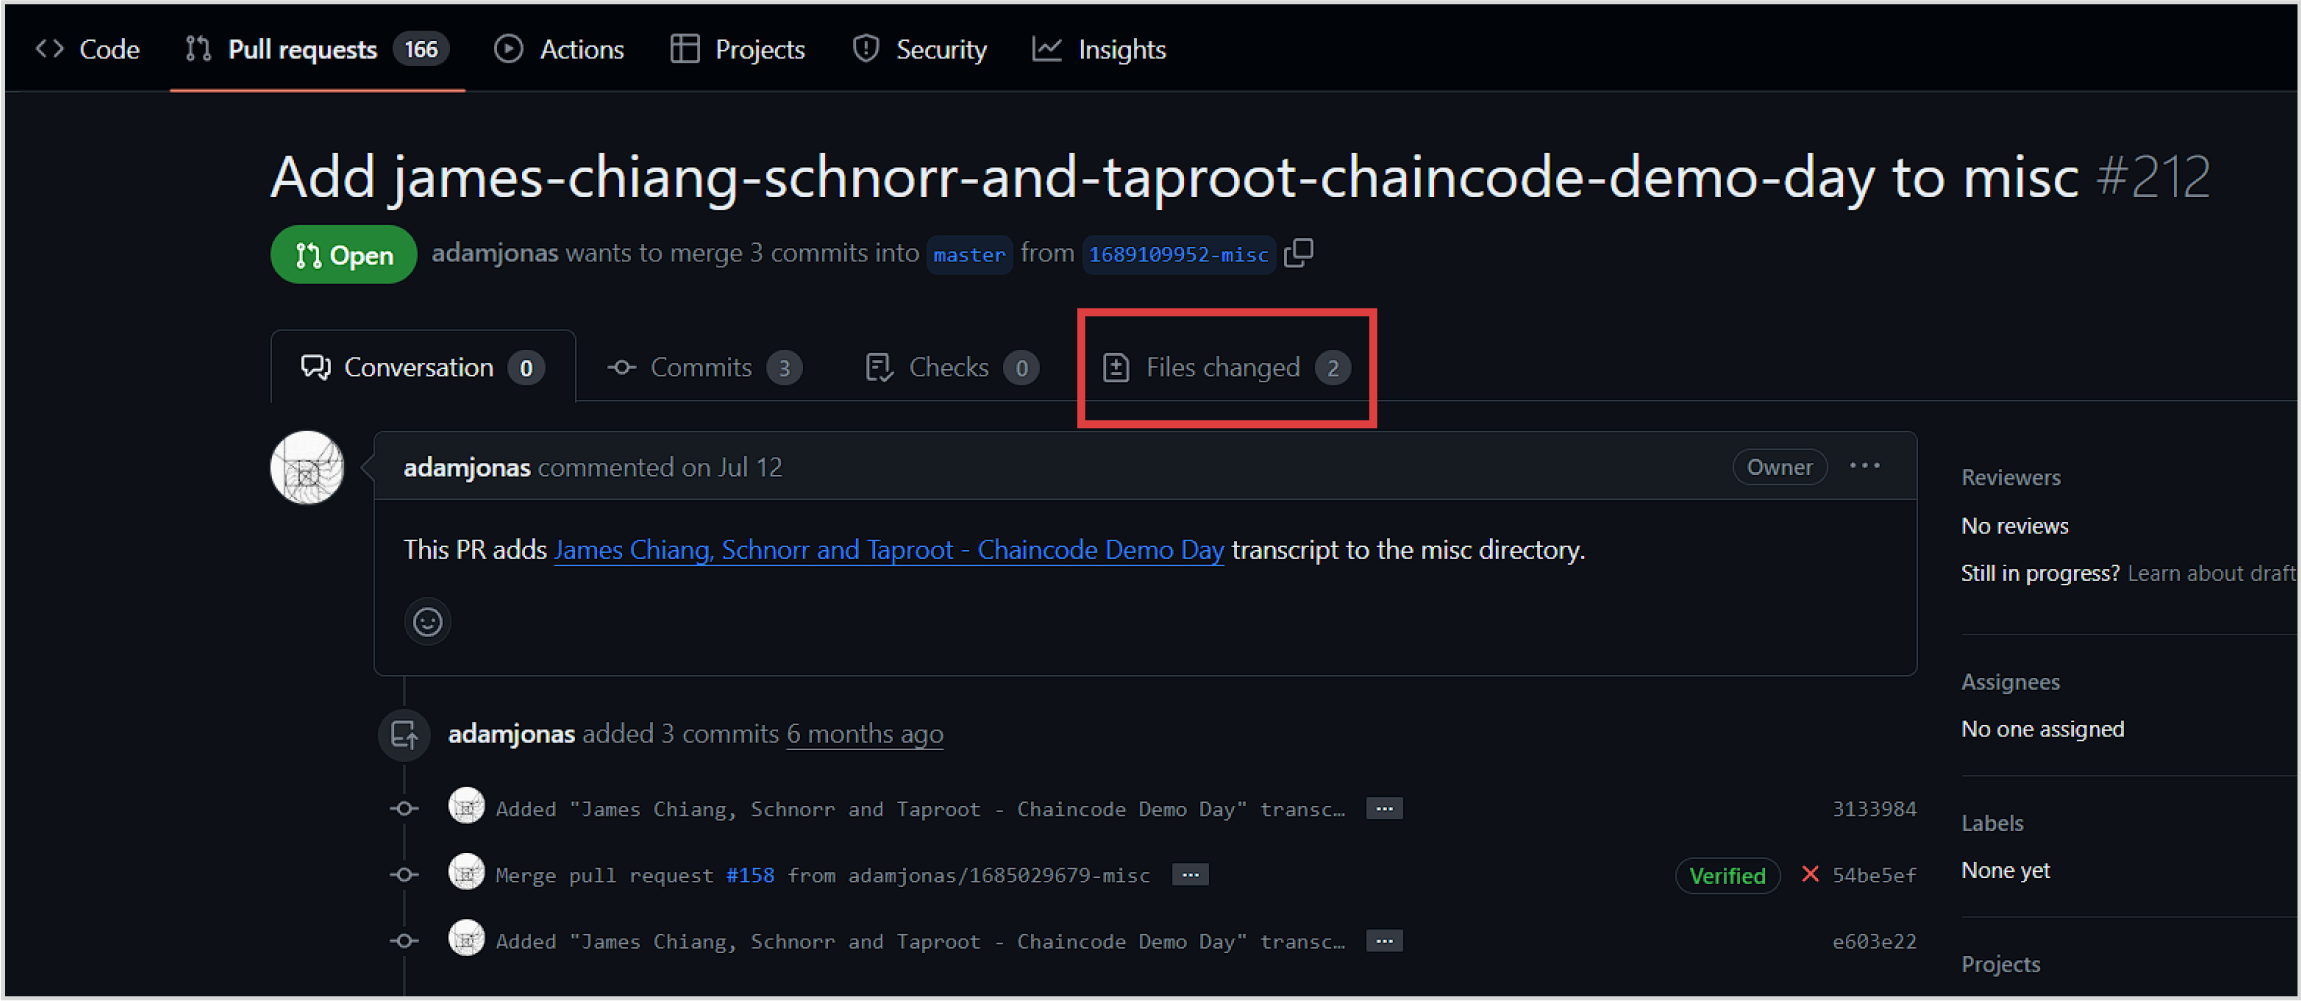
Once you submit your transcript, it will create a PR (pull request)* of your edited transcript from the original transcript
Check the PR
If you want to see your transcript, visit your profile and click the link. On the transcript’s GitHub PR, you can click the “Files changed” nav button to view.
*Nerd stuff: Pull Requests (also called PRs or merge requests) inform others that you’re making a change from an original piece of code. The transcript text is technically code because it’s what the live site uses. The original code was the transcript before you made the edits. So, you “pulled” that code and are requesting your new, edited code to be used instead.
After Submission: Your edited code or transcript will be reviewed by a human.
Once approved, it will be published. If it's not accepted, you can make further changes through GitHub conversations.
After publication, you'll receive Sats in your account wallet as a token of appreciation, which you can withdraw to your preferred Lightning wallet.
And here are some tips for an easier reviewing process
What makes a great transcript?
A great transcript has the following accurately written:
- Title
- Author(s)
- Date of original presentation
- Categories (for example, conference, meetup, and the like)
- Tags (that is, main topics)
- Sections (blocks of conversation that are grouped by a theme)
- Grammar and spelling (especially technical concepts)
- And the use of markdown!
Check out the following transcripts for inspiration:
Tips for an optimal setup
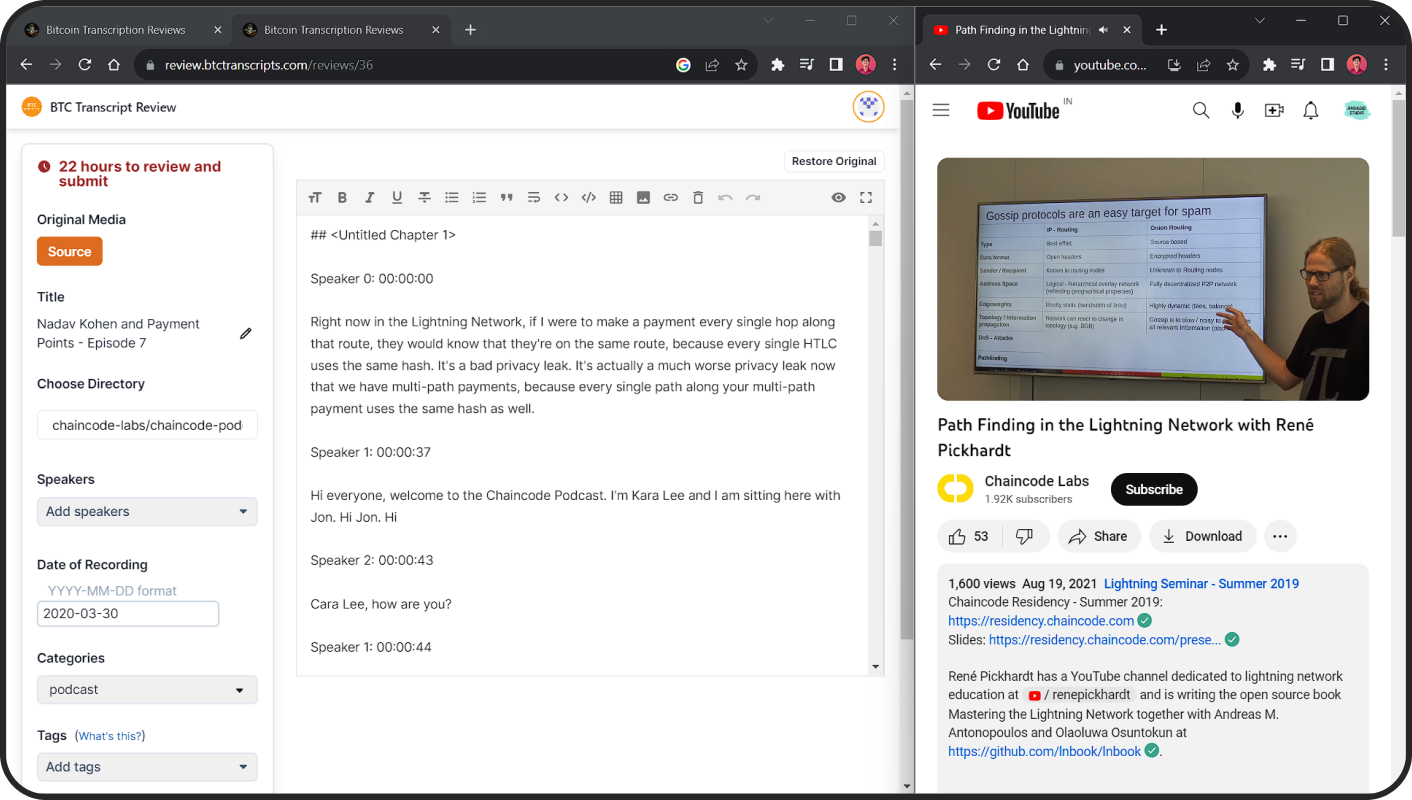
- An ideal setup is using split screen to make edits while listening live to the original recording
- You can find the original recording by clicking the “Source” button
- For transcripts with multiple speakers, there should be speaker labels (e.g. "speaker 0:" or "speaker 2:"). Use search-and-replace to label the speakers with the proper names.
Ready to review transcripts and earn sats?
We’d love to hear your feedback on this project
Submit Feedbackbuilt with 🤍 by
The Bitcoin Dev Project